How To Master The Art Of Sourdough Bread Baking
Sourdough bread has a unique charm that sets it apart from regular bread. With its tangy flavor, chewy texture, and rustic crust, it’s no wonder that many home bakers are drawn to the art of sourdough baking.
Sourdough bread has a unique charm that sets it apart from regular bread. With its tangy flavor, chewy texture, and rustic crust, it’s no wonder that many home bakers are drawn to the art of sourdough baking. The process may seem daunting at first, but with a bit of patience, practice, and a genuine interest in the craft, anyone can master the techniques required to produce delicious loaves at home. This article will guide you through the essentials of sourdough bread baking, including understanding sourdough starters, the fermentation process, kneading and shaping techniques, and baking tips to help you achieve a perfect loaf.
Understanding Sourdough Starters
At the heart of every sourdough loaf is the sourdough starter, a mixture of flour and water that captures wild yeast and beneficial bacteria from the environment. This natural fermentation process is what gives sourdough its distinctive taste and texture. Creating your starter is the first step in sourdough baking. Begin by mixing equal parts of all-purpose flour and water in a clean jar. Use filtered or dechlorinated water to encourage healthy fermentation. Stir the mixture until it's smooth, cover it loosely with a lid or a cloth, and let it sit at room temperature.
Over the next few days, you’ll need to feed your starter regularly. This involves discarding a portion of the starter and adding fresh flour and water. As the days go by, you should start to see bubbles forming, indicating that wild yeast is developing. After about five to seven days, your starter should be bubbly and have a pleasant, slightly tangy aroma. This means it’s ready for baking. Always remember that the temperature and humidity in your kitchen can affect the fermentation process, so keep an eye on your starter's activity.
The Fermentation Process
Once you have an active starter, the next step is to understand the fermentation process, which is crucial in developing the flavor and texture of your sourdough bread. The fermentation process can be divided into two main phases: bulk fermentation and proofing.
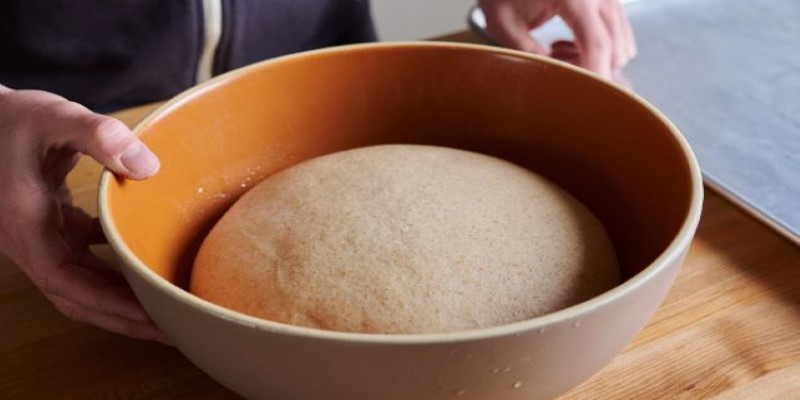
During bulk fermentation, you'll mix your starter with flour, water, and salt to form a dough. The ratio of ingredients can vary, but a common starting point is 1 part starter, two parts water, and three parts flour. After mixing, let the dough rest at room temperature. This period typically lasts between four to six hours, during which the dough will rise and become aerated.
A critical technique during bulk fermentation is stretch and fold. Instead of kneading, you’ll gently stretch the dough and fold it over itself every 30 minutes. This technique helps develop gluten structure without overworking the dough, allowing it to rise effectively.
After bulk fermentation, it's time for the second phase: proofing. This involves shaping the dough into a loaf and allowing it to rise a second time. Depending on your schedule, you can either let it rise at room temperature for one to two hours or refrigerate it for overnight cold proof. The cold-proof allows for more complex flavors to develop and is a great option for those who want to bake bread in the morning.
Kneading And Shaping Techniques
While traditional bread recipes often rely on extensive kneading, sourdough benefits from gentle handling to preserve the air bubbles created during fermentation. After bulk fermentation, gently remove the dough from the bowl onto a floured surface. Use a bench scraper to help you manage the sticky dough.
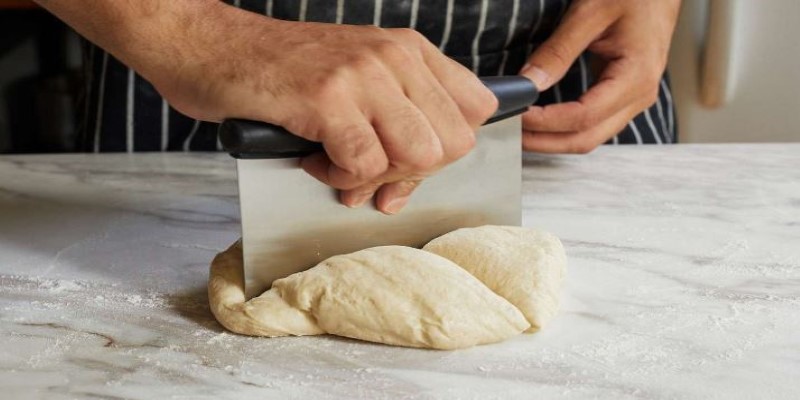
Shaping is a critical skill in sourdough baking. Start by pre-shaping your dough into a round or oval shape, depending on the type of loaf you want. Cover it with a cloth and let it rest for about 20 minutes. This allows the gluten to relax, making it easier to shape.
Next, perform the final shaping. If you're making a round loaf, flip the dough seam-side up and gently stretch it into a tight ball by pulling the edges towards the center. For a batard shape, you’ll need to stretch and roll the dough into an oval, tucking the edges under. Once shaped, transfer the loaf to a well-floured banneton or proofing basket, seam side up or down, depending on your preferred final presentation.
Cover the loaf with a damp cloth and let it proof until it has nearly doubled in size. This can take anywhere from one to three hours, depending on the ambient temperature and the strength of your starter. A well-proofed dough will spring back slowly when gently poked.
Baking Your Sourdough Bread
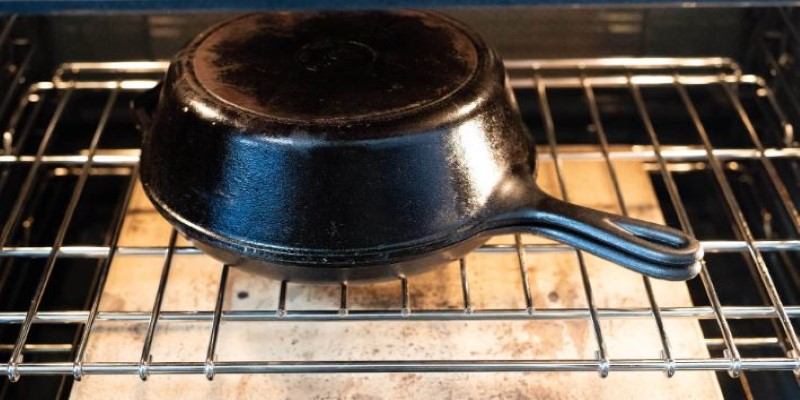
Baking sourdough is where the magic happens. Preheat your oven to a high temperature, typically around 450°F (230°C), and place a Dutch oven or baking stone inside to heat up. Steam is crucial for achieving that coveted crust. If using a Dutch oven, you can cover it during the first part of the baking process to trap steam, which helps the dough expand without forming a crust too early.
When your dough is ready to bake, carefully transfer it from the banneton to a piece of parchment paper. Use a sharp blade or razor (called a lame) to score the top of the loaf. This scoring allows the bread to expand during baking and creates an attractive pattern.
Once scored, lift the dough using the parchment paper and place it in the preheated Dutch oven. Cover with the lid and bake for 30 minutes. After this initial period, remove the lid to allow the crust to brown and crisp for an additional 15 to 20 minutes.
The internal temperature of the bread is the best indicator of doneness. A fully baked sourdough loaf should register around 200°F (93°C) on an instant-read thermometer. When baked, let the bread cool completely on a wire rack before slicing. This cooling period allows the crumb structure to set properly.
Troubleshooting Common Issues
Even experienced bakers face challenges when baking sourdough. It's important to know how to troubleshoot common problems. If your bread isn't rising properly, consider the strength of your starter. It should be bubbly and active before use. If the dough is too sticky, you may need to adjust your flour-to-water ratio or ensure you're using the right type of flour.
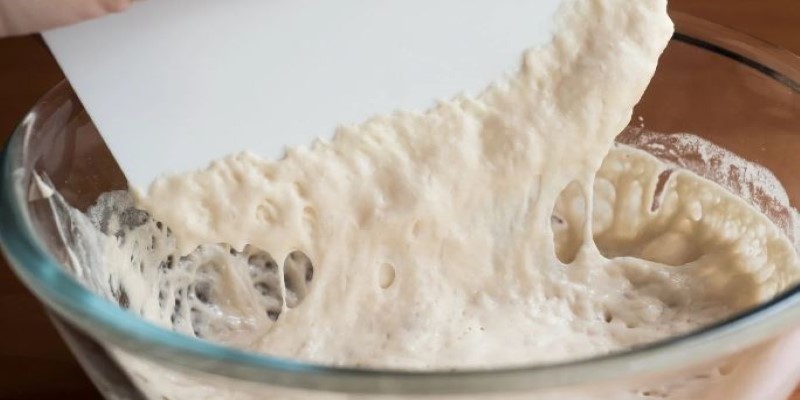
Another common issue is a dense crumb. This can occur if the dough hasn’t fermented long enough or if it has been overworked. A properly fermented dough will have a light, airy structure with plenty of bubbles. If you notice a flat loaf, check your shaping technique and ensure you’re allowing sufficient time for proofing.
Experimenting With Flavors And Ingredients
Once you've mastered the basics, feel free to experiment with different flours, hydration levels, and additional ingredients. Whole wheat, rye, or spelled flour can add depth and complexity to your bread. You can also incorporate ingredients like seeds, nuts, dried fruits, or herbs to create unique flavor profiles.
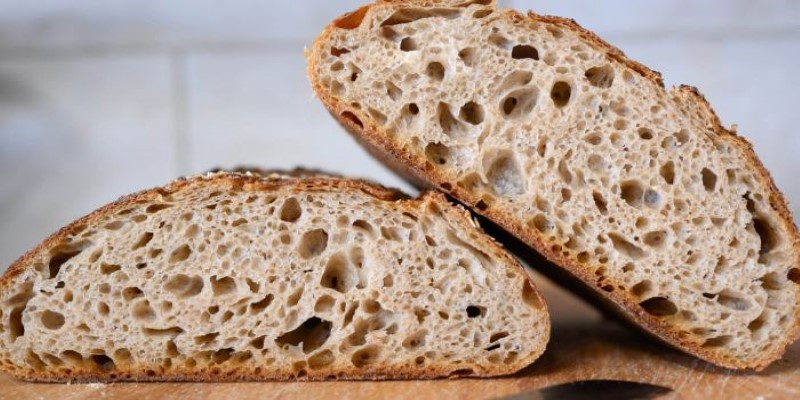
Adjusting hydration levels can also affect your bread’s texture. Higher hydration doughs may produce a more open crumb structure, while lower hydration doughs can lead to a denser loaf. Don’t be afraid to play around with the ratios to find what works best for you.
Conclusion
Mastering the art of sourdough bread baking is an attainable goal for anyone willing to invest time and care into the process. By understanding the fundamentals of sourdough starters, fermentation, kneading, shaping, and baking techniques, you can create delicious, homemade bread that reflects your unique style and flavor preferences. So grab your ingredients, roll up your sleeves, and enjoy the satisfying journey of sourdough baking. Your perfect loaf awaits!